
Retro Kitchen Style Cheesy Hissy Fit Dip

Project Specifications
- Prep Time: 15 minutes
- Inactive Time: 0 minutes
- Cook Time: 20 minutes
- Total Time: 35 minutes
- Servings: 6-8
- Detailed Cost Estimate: Approximately $10-$15
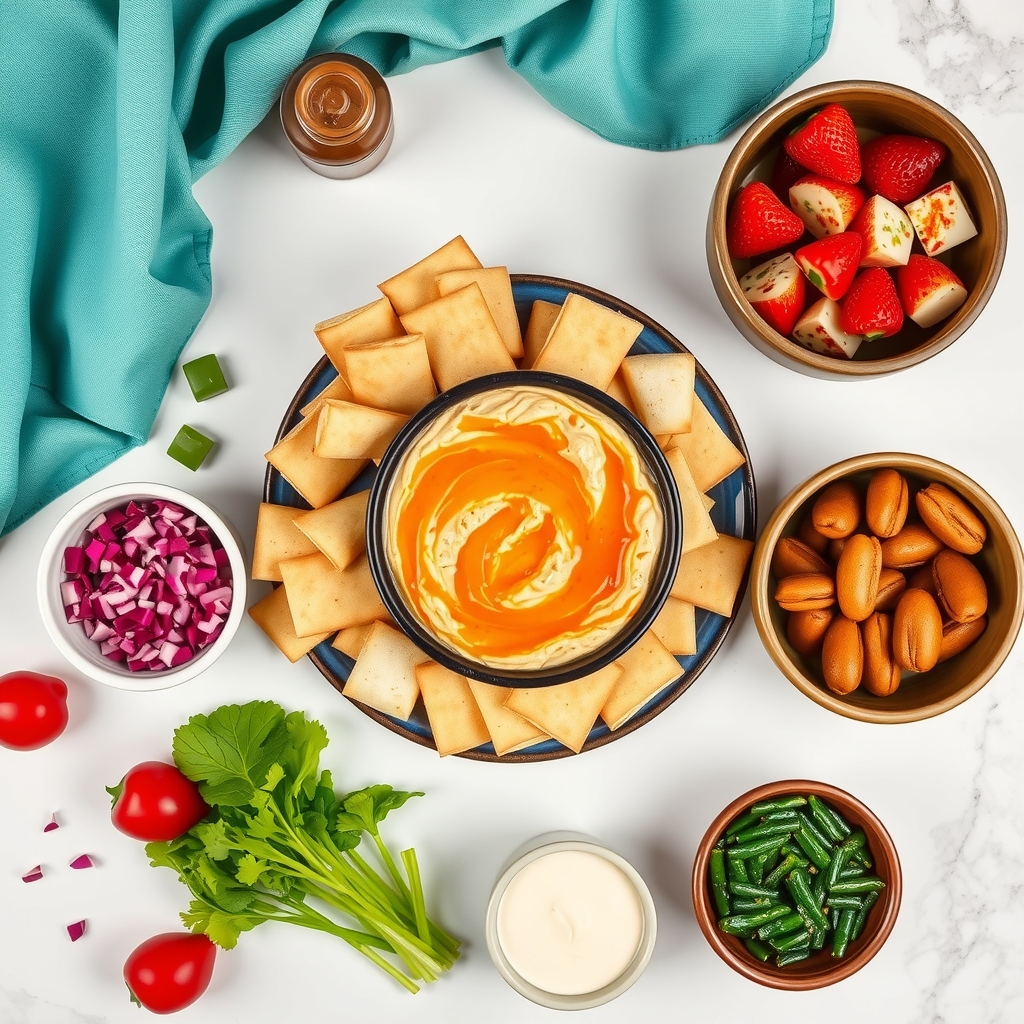
The Ingredient Architecture
- The Lipid Engine:
- 1 cup Cream Cheese
- 1/2 cup Sour Cream
- The Starch Foundation:
- 1 cup Shredded Sharp Cheddar Cheese
- 1/2 cup Shredded Mozzarella Cheese
- The Aromatic Trinity:
- 1/2 cup Chopped Green Onions
- 2 cloves Garlic, minced
- The Umami Matrix:
- 1/2 cup Cooked Bacon, crumbled
- 1 tsp Worcestershire Sauce
The Phase-Based Workflow
The Science
In the culinary laboratory of the home kitchen, we embark upon the creation of the Retro Kitchen Style Cheesy Hissy Fit Dip, a delightful concoction designed to appease both the palate and the nostalgic spirit. This dip stands as a testament to the chemistry of flavors, where fats interact harmoniously with starches, aromatic components, and umami notes, leading to a symphony that dances across the taste buds.
The Logic
Phase 1: Ingredient Preparation
- Begin by meticulously measuring and preparing each ingredient, ensuring precision as the varying properties of these components will ultimately dictate the end result.
- For enhanced flavor release, the garlic should be finely minced, while the green onions should be sliced at a diagonal for an aesthetically appealing presentation.
- Crumbled bacon should be evenly distributed to maintain a consistent umami flavor throughout the mixture.
The Science
Phase 2: Cooking Process
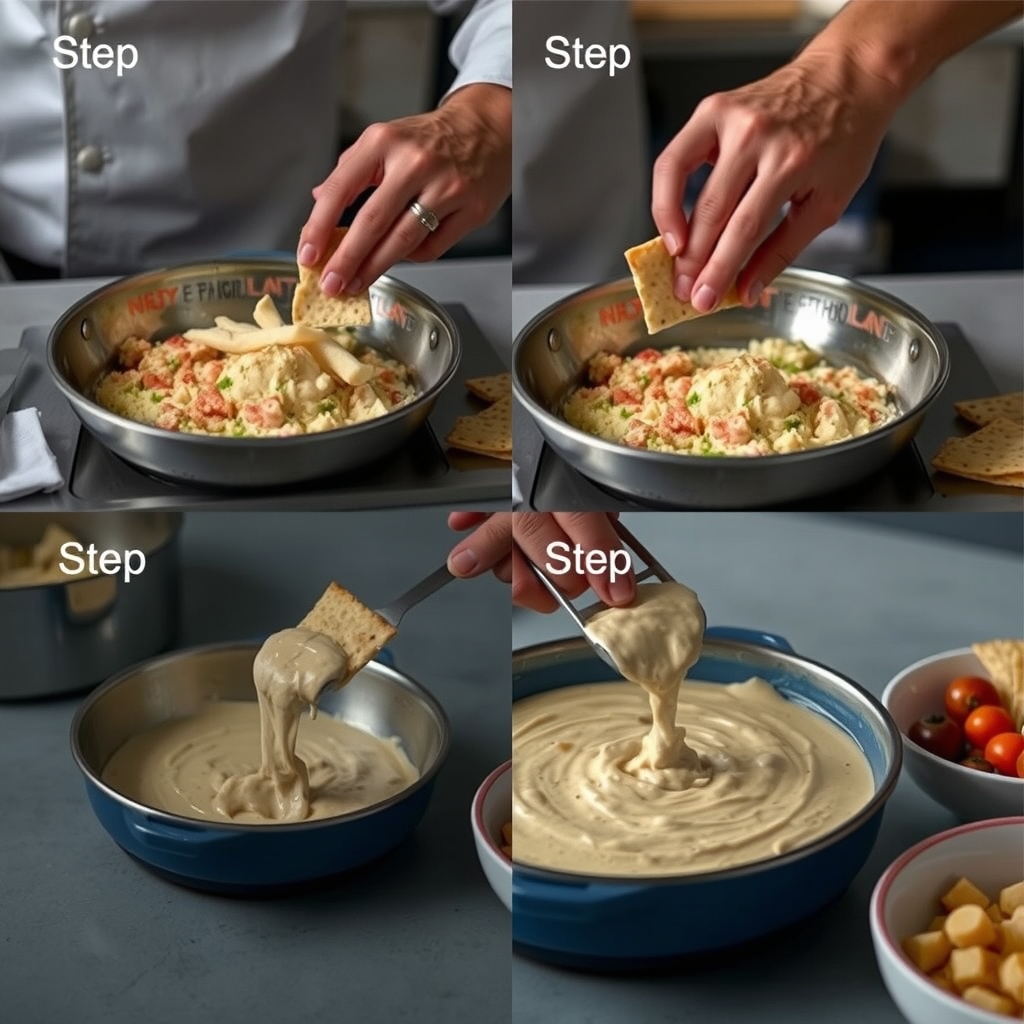
- In a medium mixing bowl, combine the cream cheese and sour cream, mixing until smooth and homogenous.
- Add the shredded cheddar and mozzarella cheeses, stirring thoroughly to integrate.
- Incorporate the garlic, green onions, bacon, and Worcestershire sauce, ensuring an even distribution of flavors.
- Transfer the mixture into a baking dish and smooth the top with a spatula.
- Bake in a preheated oven at 350°F for approximately 20 minutes or until the dip is bubbly and golden brown on top.
The Logic
Phase 3: Resting & Serving
Once the cheesy goodness has emerged from the oven, allow the dip to rest for a brief moment—approximately 5 minutes. This vital period enables the flavors to further meld while slightly cooling, thereby enhancing textural integrity upon serving.
Resting and Servicing
When ready to serve, pair this dip with an assortment of dippers, such as tortilla chips, sliced baguette, or fresh vegetables. The dip should be scooped generously, allowing its creamy texture to embrace whatever vessel it encounters.